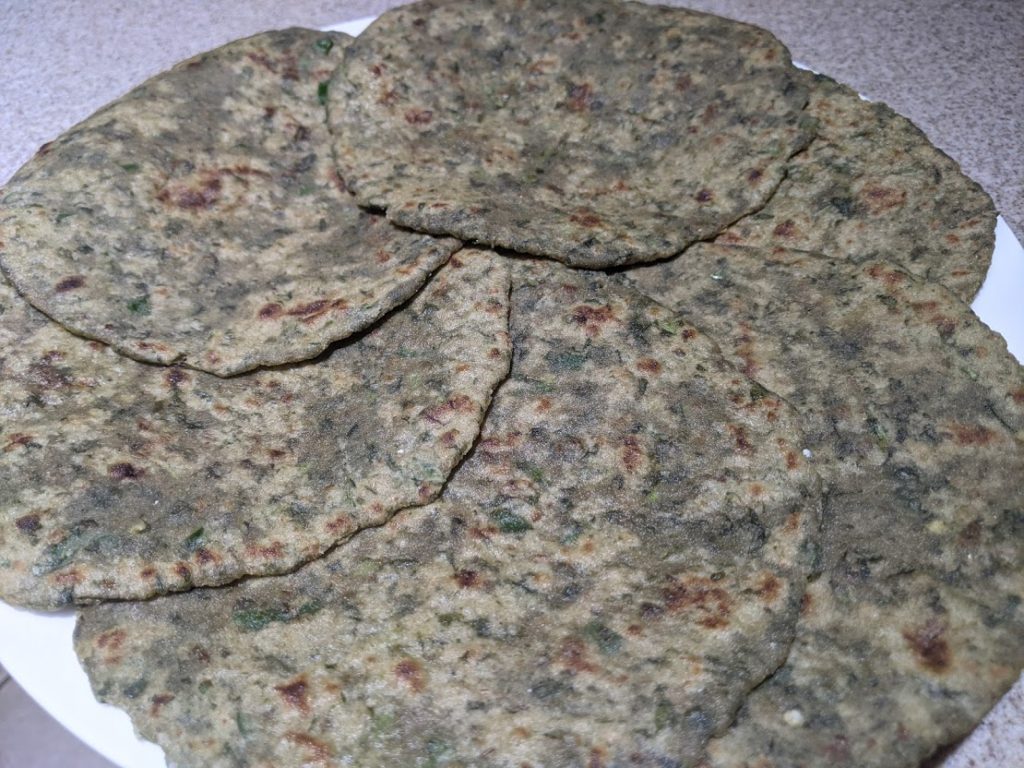
Yield: 4 parathas or flatbreads
Prep time: 15 minutes
Resting time: 15-20 minutes
Cook time: 15 minutes
Total time: 30 minutes
Healthy, tasty, and simple recipe of methi parathas with spices. An ideal flatbread to eat anytime, which you can now have without gluten and enjoy eating it 😊
Ingredients
- 1 cup of Metta flour
- 1 cup fresh chopped fenugreek leaves or 1 block of frozen fenugreek
- ⅓ cup water at room temperature*
- ½ teaspoon of salt
- ¼ tsp baking soda
- ½ tsp lime or lemon juice (to activate the soda for extra softness and fluffiness)
- ½ tsp ajwain or carom seeds (sub thyme)
- 1 chopped green chili (mild, medium or hot)
- ¼ cup of dry Metta flour (for dusting and sprinkling)
- ½ tsp fresh grated ginger (optional)
- ¼ tsp turmeric (optional)
- ¼ tsp chili powder (or sub cayenne pepper, optional)
- 1 Tbsp oil or ghee (optional)
- (optional, but recommended) 1 tablespoon of oil or ghee or butter to pan-fry the parathas while cooking
Tools Needed
- Rolling pin
- Skillet (preferably hard anodized pan)
- Flat spatula
Instructions
- In a bowl, stir together the flour, chopped fenugreek leaves, salt, baking soda, chopped green chilis, lime/lemon juice, and water (including other optional ingredients). Mix and knead until the dough starts to pull away from the sides. Mix and knead well. (I knead the dough in an electric mixer for about 5 minutes using the hook attachment so it is kneaded to perfection without tiring the arms.) The dough should not be sticky nor wet. It should be pliable.
- Once a soft yet firm dough is achieved, place a moist paper towel over the dough and put it in a container with a cover to avoid developing dry skin on it. For best results, leave it in the fridge for at least 15-20 minutes. For best results, use dough within 48 hours of initial kneading.
- Preheat skillet, or tawa, to medium-high heat.
- Smear a little dry flour on your hands before making the dough balls to prevent the dough from sticking to your hands. Divide the dough into 4 balls.
- When ready to roll, dip each dough ball in its entirety into dry flour to avoid sticking to the rolling pin. Place it on a clean counter top, or chokki, to roll using a rolling pin.
- Roll evenly applying gentle pressure into a round about 5” in diameter (if it starts breaking or sticking to the counter or rolling pin, you may be pressing too hard). Don’t worry if you are not able to make it a nice round shape. You will likely need to use more dry flour while rolling it to prevent it from sticking to the counter. Brush off the access flour if it starts settling on the flatbread dough as you’re rolling it. Thin it out to your preference.
- Place it on a hot skillet. Ideal skillet temperature is 500 to 550 F. Cook the initial side or base for about 45 seconds then flip the flatbread. Let the other side cook for about 45 seconds. Then smear a little oil on the base and press slightly with the spatula to crispen. Remove from the skillet once both sides are cooked, oiled, and crisp.
- Finally, serve warm with yoghurt, butter, pickle, or plain and enjoy!
Other Tips: If making a bunch of them at once, it is best to stack them in a foil, a tortilla warmer or in another container wrapped in a cloth. This will keep them warm and soft for hours.
If any left over, save them in a foil or zip lock bag over night on the counter and eat them the next day after warming in a zip lock bag or a tortilla warmer for 25-30 seconds in the microwave. You can also store them in the refrigerator in a tightly sealed bag and consume within 2-3 days. They may harden in the refrigerator, because they are made without any preservatives, but warming them in the microwave or on a hot (at least 500 F) skillet will make them soft again. Alternately, they can be frozen once cooled.
Have you used Metta gluten-free flour for this recipe or any other recipe?
Kindly take a moment to leave a review here to help our community!
Any questions or concerns or ideas on how to improve our recipe and/or process, please feel free to contact us at mettagfatta@gmail.com


